TL;DR. Metadata Manager will be retired at the end of 2025. Over the past four years, we have been developing a new helper tool to replace it, and that tool has now reached a stage of maturity that means we will be able to switch off Metadata Manager by the end of the year.
Our REST API makes all of the metadata we hold publicly available. It receives the majority of our API traffic, with around 1 billion hits per month. It’s one of the key ways that we fulfil our mission to make research objects easy to find, cite, link, assess, and reuse. From 1 December 2025, we will be revising the rate limits for the public and polite pools of the REST API to ensure that we can maintain a stable and reliable system, and that metadata is freely available to everyone.
Noyam Journals, based in Accra, Ghana, was recently recognised for the completeness of its metadata through the Crossref Metadata Award, part of our 25th anniversary celebrations. Noyam was one of six publishers worldwide to receive the award and stood out as a leader among members of our Global Equitable Membership (GEM) Program.
Wednesday 22nd October 2025—Crossref, the open scholarly infrastructure nonprofit, today releases an enhanced dashboard showing metadata coverage and individual organisations’ contributions to documenting the process and outputs of scientific research in the open. The tool helps research-performing, funding, and publishing organisations identify gaps in open research information, and provides supporting evidence for movements like the Barcelona Declaration for Open Research Information, which encourages more substantial commitment to stewarding and enriching the scholarly record through open metadata.
Setting up your iThenticate v1 account (admins only)
Documentation Menu
Setting up your iThenticate v1 account (admins only)
This section is for Similarity Check account administrators using iThenticate v1. You need to follow the steps in this section before you start to set up your users and share the account with your colleagues.
If you are using iThenticate 2.0 rather than iThenticate v1, there are separate instructions for you.
Not sure if you’re using iThenticate v1 or iThenticate 2.0? More here.
Your personal administrator account in iThenticate v1
Once Turnitin has enabled iThenticate v1 for your organisation, the main editorial contact provided on your application form will become the iThenticate account administrator. As an administrator, you create and manage the users on your account, and you decide how your organisation uses the iThenticate tool.
To start with, you need to login to iThenticate and set your password.
Log in to your administrator account (v1)
Start from the link in the invitation email from noreply@ithenticate.com with the subject line “Account Created” and click Login
Enter your username and single-use password
Click to agree to the terms of the end-user license agreement. These terms govern your personal use of the service. They’re separate from the central Similarity Check service agreement that your organisation has agreed to.
You will be prompted to choose a new password
Click Change Password to save.
How do you know if you’re an account administrator?
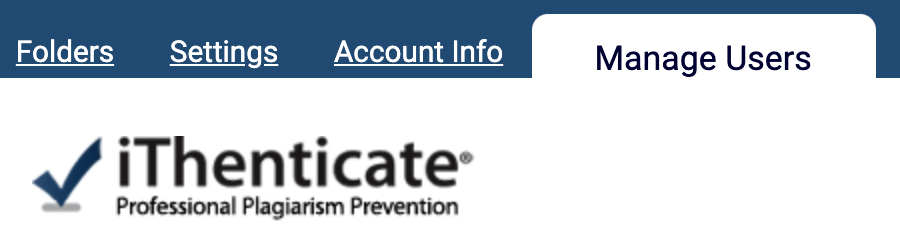
Once you’ve logged in, you will only be able to see the Manage Users tab if you’re an account administrator.
So if you can’t see Manage Users or Users, you’re not an account administrator, and you can skip ahead to the user instructions for iThenticate v1.
Updating your personal email address or password
Changing your email address or updating your password is the same for admins and other users. There’s more information in the user instructions for iThenticate v1.
Page maintainer: Kathleen Luschek Last updated: 2022-July-15